Windhawk Resource Redirect
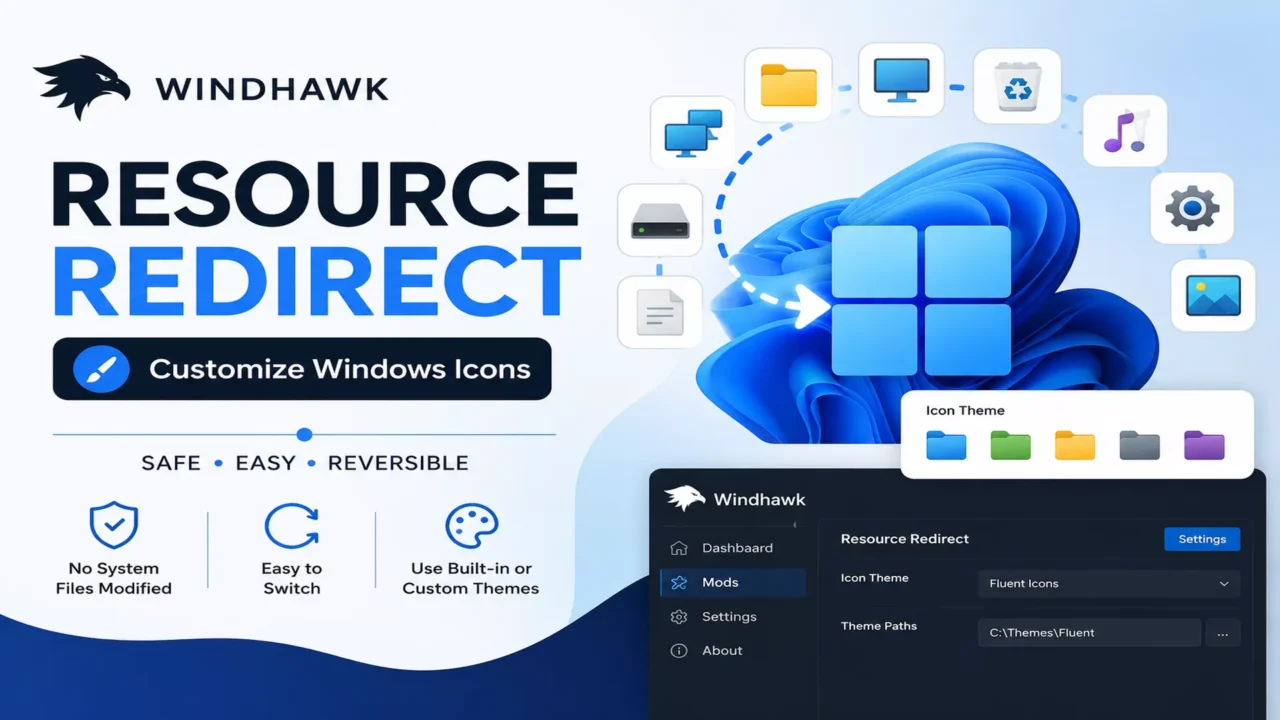
Want to customize Windows icons without modifying protected system files? Windhawk Resource Redirect is one of the safest and easiest ways to apply custom Windows icon themes on Windows 10 and Windows 11.
Unlike traditional icon patchers, Resource Redirect doesn’t replace Windows system files. Instead, it redirects Windows resource requests to your custom icon theme, making customization completely reversible. Whether you’re using a community-made icon pack or creating your own, this guide will walk you through the entire process—from installing Windhawk to applying your first custom icon theme.
What is Windhawk Resource Redirect?
Windhawk Resource Redirect is a powerful Windhawk mod that redirects Windows resource loading to customized files instead of the original Windows resources. This allows you to replace icons, cursors, bitmaps, dialogs, menus, and other resources without editing protected DLL files.
You can download the latest version of Windhawk from the official website. After installing Windhawk, simply install the Resource Redirect mod from the Explore tab.
System Requirements
- Windows 10 or Windows 11
- Administrator privileges
- Internet connection
- Windhawk installed
Step 1: Install Windhawk
- Visit the official Windhawk website.
- Download the latest version.
- Run the installer.
- Follow the setup wizard.
- Launch Windhawk after installation.
Windhawk only needs to be installed once. From there, you can browse and install hundreds of Windows customization mods directly within the application.
Step 2: Install the Resource Redirect Mod
- Open Windhawk.
- Go to the Explore tab.
- Search for Resource Redirect.
- Or visit the official Resource Redirect mod page.
- Click Install.
- Wait for the installation to complete.
After installation, the mod will appear on the Home page where all settings can be configured.
Step 3: Apply a Built-in Icon Theme
- Open the Resource Redirect mod.
- Select Settings.
- Choose one of the available built-in icon themes.
- Click Save.
- Allow Windhawk to restart Windows Explorer and rebuild the icon cache if prompted.
The selected icon pack will automatically download and install without requiring any manual configuration.
Step 4: Install a Custom Icon Theme
If you’d like additional icon packs, browse the community-maintained Resource Redirect Icon Themes repository. It contains dozens of high-quality Windows icon themes compatible with Resource Redirect.
- Download your preferred icon theme.
- Extract it to a permanent folder.
- Ensure the folder contains a
theme.inifile. - Open Windhawk → Resource Redirect → Settings.
- Add the folder (or the
theme.inifile) path under Theme Paths. - Click Save.
- Restart Windows Explorer if prompted.
Example Icon Theme Folder Structure
My Icon Theme
 │
 ├── theme.ini
 └── Windhawk Resources
   ├── explorer.exe
   ├── imageres.dll
   ├── shell32.dll
   └── additional resource files
Example theme.ini
[redirections]
%SystemRoot%\explorer.exe=explorer.exe
%SystemRoot%\System32\imageres.dll=imageres.dll
%SystemRoot%\System32\shell32.dll=shell32.dll
This configuration instructs Resource Redirect to use your customized resource files whenever Windows attempts to load the original system resources.
Supported Resource Types
- Icons
- Cursors
- Bitmaps
- PNG resources
- Menus
- Dialogs
- String tables
- DirectUI XML resources
Troubleshooting Folder Icons Not Changing?
Try these solutions:
- Enable Redirect all loaded resources.
- Enable Disable folder thumbnails if available.
- Enable Always show icons, never thumbnails in Folder Options.
- Clear the Windows icon cache.
- Restart Windows Explorer.
Important Notes
- Resource Redirect never modifies Windows system files.
- You can safely uninstall or disable the mod anytime.
- Keep your icon theme folder in the same location after configuring it.
- Some icons only update after rebuilding the Windows icon cache.
- Only use themes designed specifically for Resource Redirect.
Create Your Own Resource Redirect Theme
- Copy the Windows resource files you want to customize.
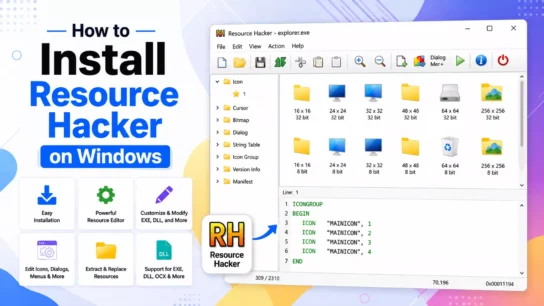
- Edit them using Resource Hacker or another resource editor.
- Save the modified files.
- Create a
theme.inifile with the required redirection rules. - Add your theme folder under Theme Paths.
- Restart Explorer.
Frequently Asked Questions
Is Windhawk Resource Redirect safe?
Yes. It redirects resources instead of modifying Windows system files, making it one of the safest Windows icon customization methods available.
Does it support Windows 11?
Yes. It fully supports both Windows 10 and Windows 11.
Can I restore the default Windows icons?
Yes. Simply disable or uninstall the Resource Redirect mod to restore the original Windows icons.
Where can I find more icon themes?
You can download additional icon packs from the Resource Redirect Icon Themes repository.
Conclusion
Windhawk Resource Redirect is one of the best solutions for customizing Windows icons without compromising system stability. Whether you’re installing a community-made icon pack or creating your own, Resource Redirect provides a safe, flexible, and reversible way to personalize your Windows desktop.
For the latest updates, documentation, and new customization mods, visit the official Windhawk website. To explore additional icon themes, browse the Resource Redirect Icon Themes repository.